
You can’t beat a real marble surface. Not only is it absolutely stunning but it’s also hardwearing. The problem is that not everyone realises that natural stone – and, in particular, marble – is sensitive to acid. To compound this, some of today’s porcelain-effect tiles are very authentic, so the two can easily get mixed up and incorrect products used for maintenance.
A case in point
Some years ago, we were asked to visit a fabulous residential property in Central London. A fine vein cut marble – mechanically polished to a high sheen – had been installed throughout a wet room. The cost of the marble and installation was around £10,000 at the time; probably considerably more now. A general-purpose kitchen and bathroom spray cleaner had been applied to the top of the wall and then left to run down the face of the brown-toned marble. On a marble-effect porcelain or ceramic surface this probably wouldn’t have caused too much of an issue. However, the highly acidic solution caused etching and considerable damage to the whole of the marble wall surface. Ironically, the product that caused the damage cost just 64p. A suitable, concentrate pH-neutral detergent probably wouldn’t have cost a great deal more.
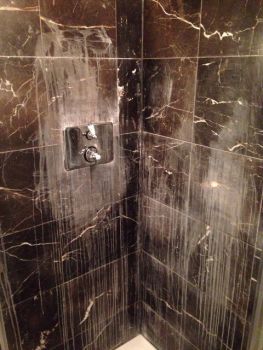
So, how do you renovate stone that’s been scuffed or damaged with acid? We recommend a three-stage process in which the stone is mildly etched across the whole surface, to even it out. It is then neutralised and, finally, an enhancing impregnating sealer is applied to restore the depth of colour. This process can be carried out on all types of natural stone, including marble, granite and limestone tiles, vanity units and counter tops.
Bear in mind that acid damage isn’t just caused by cleaning products. It can also be caused by other acidic liquids like tea, coffee, wine, vinegar, lemon, ammonia, tannins and cosmetics, etc. Care should also be taken when using ‘eco’ cleaning sprays, as many contain natural acids.
Three-step renovation
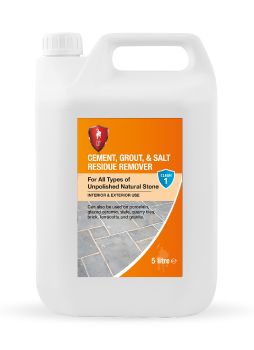
During Phase I, we first apply LTP Cement, Grout & Salt Residue Remover. This treatment removes residue and mildly etches the stone. Normally it would only be used on unpolished natural stone but, in this case, it is applied to even out appearance. The treatment is formulated from an acid-replacement solution, so it’s safe to use in this particular situation. Products containing hydrochloric-based acids should never be used, as they will cause further damage to the stone and metal trims, as well as emitting harmful fumes. Firstly, the Remover is diluted 1:1 with cool water and carefully applied to each tile, without overlapping from one tile to another. The surface is then agitated immediately using a black emulsifying pad. Care should be taken not to step on floor tiles during this phase. Tiles should then be rinsed immediately with cold water and a sponge, twice, using clean water each time. The surface should then be left to dry.
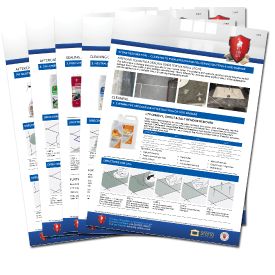
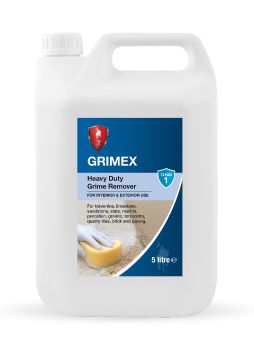
For Phase 2, we recommend LTP Grimex Intensive Cleaner, which is diluted 1:3 with cool water, applied across the surface and left to act for 15 minutes. This neutralises the stone. The tiles and grout joints should then be scrubbed using a white emulsifying pad, before any residues are extracted with a sponge or floor cleaner. The tiles should then be rinsed with clean water a second time and any final residue removed, before the tiles are left to dry.
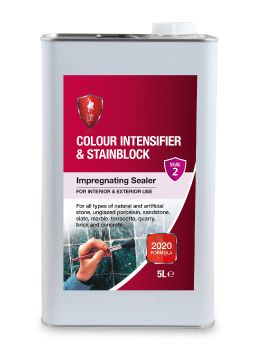
During Phase 3, a colour enhancing sealer is applied to restore the natural colour depth of the stone. We recommend LTP Colour Intensifier & Stainblock. The sealer is applied evenly with an applicator and allowed to dry naturally. After 45 minutes, tiles are buffered with a microfibre cloth. Tiles should then be left to dry for a minimum of 12 hours before they are walked on and should not come into contact with water for a further three days. Underfloor heating should not be switched on throughout the three-stage process.
Ongoing maintenance
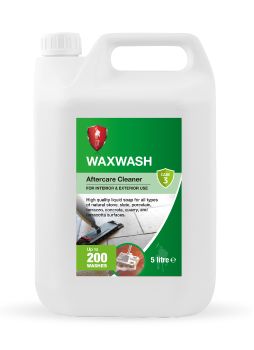
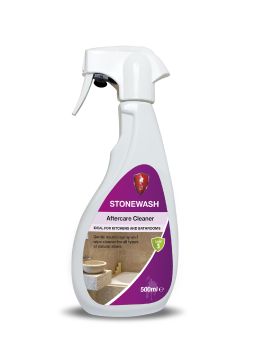
Going forward, stone tiles should always be cleaned with a gentle pH-neutral detergent. We recommend our LTP Waxwash for floors and LTP Stonewash for wall tiles. Both will thoroughly clean whilst protecting the newly-applied sealer. A regular routine cleaning regime will make ongoing maintenance easier and will retain the stone’s aesthetic and most stone surfaces will benefit from a wet clean around once a week.
For more advice, please visit https://www.ltp-online.co.uk, call the LTP technical team on 01823 666213 or email [email protected]


