Porcelain is an incredibly versatile material, renowned for its stain resistance and durability. Unlike natural stone which is routinely sealed, porcelain often doesn’t require any protection – but this isn’t the case for all types of tile.
Tiles generally fall into one of two categories – those with a polished or glazed finish, and unpolished or ‘matt’ tiles. The glossy sheen of a polished tile is created as part of the manufacturing process and, as a result, micro-pores in the surface of the porcelain are opened up. This makes the surface more susceptible to staining. Some tiles are sealed as part of the manufacturing process, whilst others are left unfinished.
Protecting polished porcelain
Most polished porcelain needs sealing. You can carry out a simple test on a spare tile/off cut by marking it with black pen. If the pen mark can be wiped off with a small amount of white spirit, then the tile is sealed and no further action is required. If not, then we suggest sealing the tile with LTP MPG prior to grouting to ensure there is no ‘framing ‘from the grout residues. Most polished porcelain will have had some factory wax-type seal applied, so it’s always advisable to clean the tiles back with LTP Grimex before sealing with LTP MPG.
What’s recommended for unpolished tiles?
Unpolished tiles don’t need to be sealed – but they will benefit from a barrier treatment. Many will be textured and even the most subtle undulation will collect dirt or residue – this can be a particular issue during installation, when grout and other residues will be become trapped in the ‘high-low’ surface. Trapped residues will compromise the look of the tile, make it more difficult to maintain and could build-up and create a slip hazard.
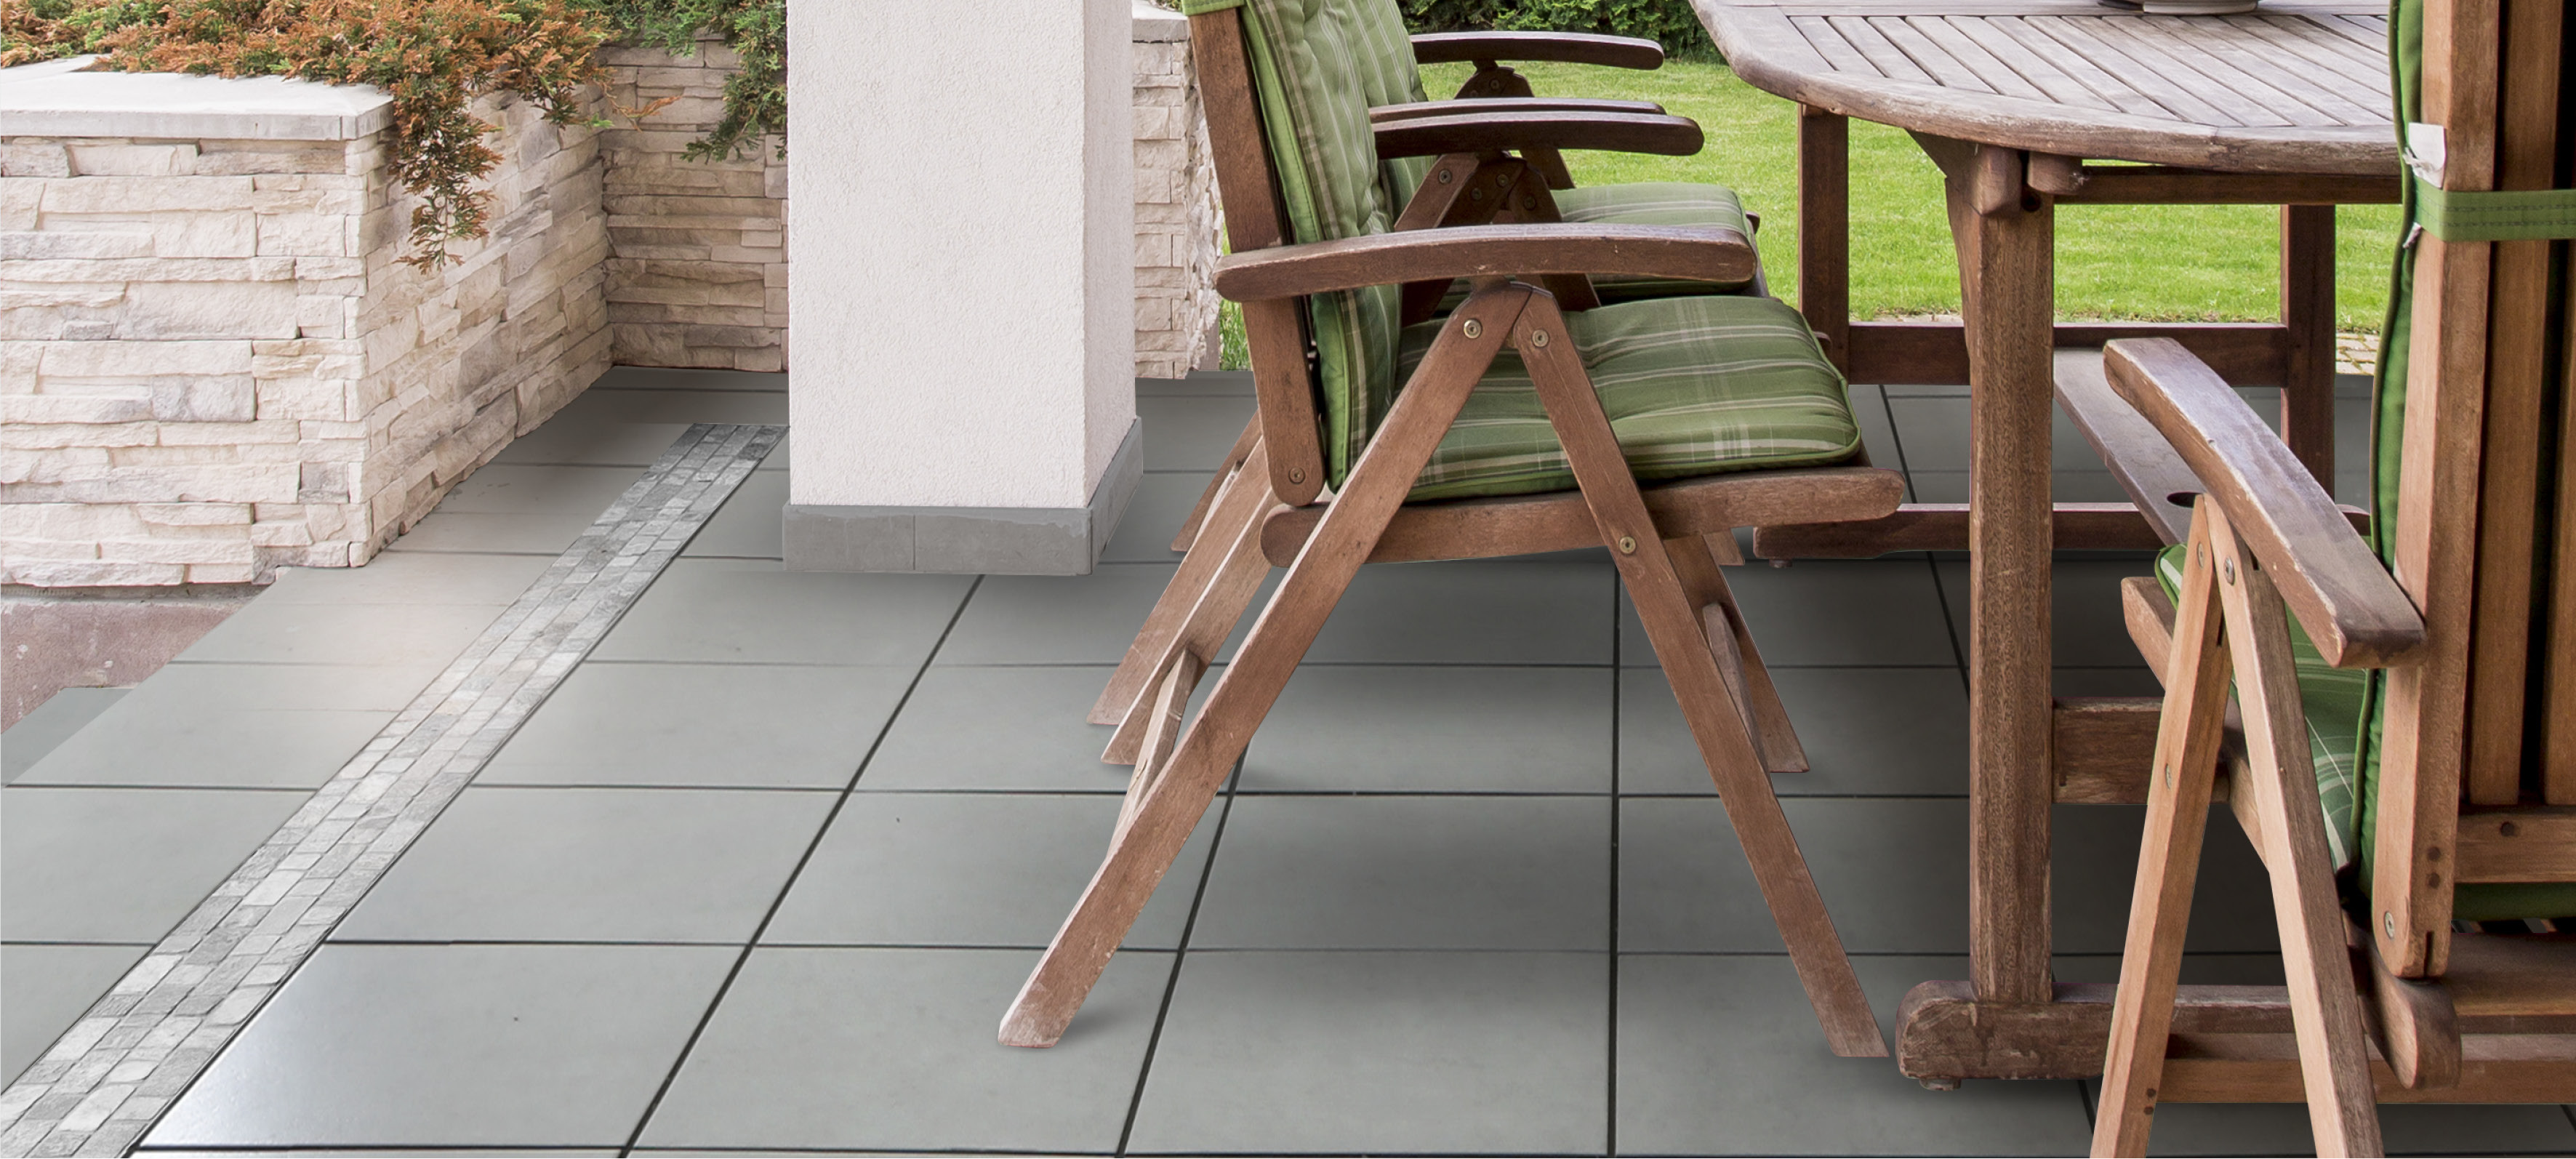
Patio porcelain pavers are particularly suspectible, as they will often have a highly textured surface to give them grip underfoot.
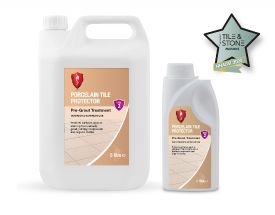
To prevent these issues, we recommend the LTP Porcelain Protector. It’s a water-based ‘pre-and-post-grout’ treatment that’s designed to protect the tiles from staining and allow easy removal of residues like cement-based grout, two-part resin based jointing compounds and stubborn dirt.

How does the Porcelain Protector work?
The Porcelain Protector creates a barrier without forming a film or altering the tile’s appearance. It works in two ways: it helps to improve and increase the working time of grouts and jointing compounds, and it greatly reduces the risk of cement and resin staining.
How do you apply the Porcelain Protector?
You can use a spray, roller or brush – here’s a link to more information, including a Video Aid. You apply the Protector before grouting or pointing. Then, once residues have been removed and the surface is dry, a further coat can be applied to the tiles and joints, to help assist with future cleaning and aftercare. Here’s how:
Before applying the Protector, give the tiles a thorough clean. We recommend using a dilute solution (1:5) of LTP Grimex. Rinse well to remove residues and leave to dry.
Shake the Protector bottle before use. Then evenly apply the treatment using a broad paint brush, foam roller or light pressure sprayer. Allow to dry for 30 minutes. Then, apply a second coat. Leave this to cure for a minimum of one hour before grouting or pointing. Once pointing is dry, and all residues have been removed, a further coat of Protector can be applied; make sure that you cover the joints as well, so that they are protected.
For more information, contact the LTP team on tel. 01823 666213 or email [email protected]


